Automatic shipping label creation with Shopify Flow
Automatically create a shipping label the moment an order is ready — no manual clicks required. Using Shopify Flow, you can trigger Globe’s label export automatically based on any condition: order creation, payment capture, fulfillment request, tag added, or any other Flow event.
The action uses exactly the same logic as clicking Create shipping labels manually: it reads the default carrier and service type from your carrier account configuration, respects all order metafield overrides, and honours your auto-fulfillment settings.
How it works
Section titled “How it works”When the Flow runs, the action:
- Reads the order’s shipping method and destination country
- Matches them against your configured carrier accounts to determine the correct carrier and service type
- Applies any
globenamespace metafield overrides (weight, declared value, COD, currency…) - Exports the shipment to the carrier’s system — identical to a manual export
- If your carrier account has Auto-fulfill or Fulfill on carrier handover enabled, fulfillment is created automatically
If no carrier account matches the order’s shipping method and country, the action completes without creating a label. If the carrier’s API returns an error, Shopify Flow marks the run as failed and the error message is shown directly in the Flow run history.
Getting started
Section titled “Getting started”Step 1 — Verify your carrier mapping
Section titled “Step 1 — Verify your carrier mapping”Before setting up the Flow, confirm that your carrier accounts are correctly mapped to your Shopify shipping methods. Go to Integrations → [Carrier] → Shipping method mapping and verify that the order’s shipping method and destination country resolve to the correct carrier and service type.
You can verify this by opening any representative order and clicking Create shipping labels — the panel should pre-select the expected carrier. The Flow action uses the same logic.
Step 2 — Create a Flow
Section titled “Step 2 — Create a Flow”- Open the Shopify Flow app in your Shopify admin.
- Create a new Flow.
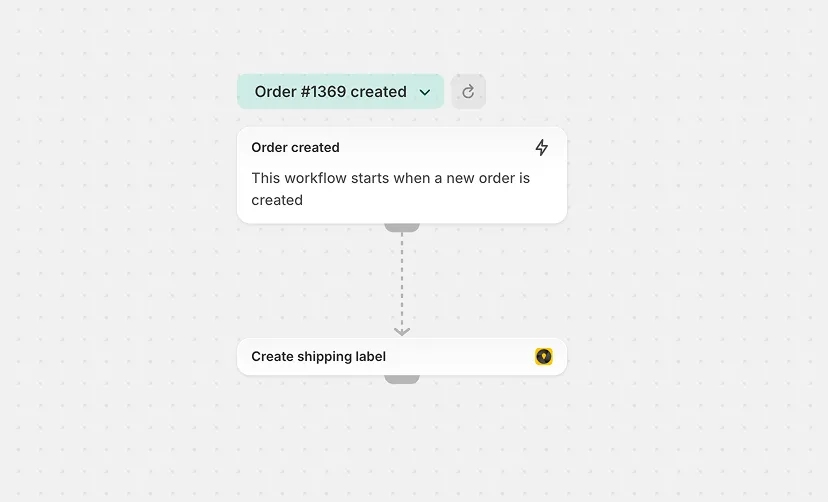
- Set the trigger — for example:
- Order created — to create the label immediately on order placement
- Order paid — to wait for payment confirmation first
- Fulfillment order created — to create when a fulfillment request is received
- Add any conditions you need (e.g. filter by shipping method, country, order value).
- Add the action Create shipping labels provided by Globe Pickup Points.
- Connect the Order field to the order from the trigger.
- Save and enable the Flow.
When to use this
Section titled “When to use this”This approach is ideal when:
- You want a zero-touch shipping workflow — labels created the moment an order is paid
- You use consistent shipping methods that map cleanly to a single carrier and service type
- You want to combine label creation with other Flow actions (e.g. send a Slack notification, add an order tag)
- You want failed exports to be visible and trackable in Shopify Flow
If your orders require manual carrier or service type selection (e.g. mixed carriers on the same shipping method), continue using the manual Create shipping labels panel.